

Water Heater Insulation Benefits and Steps, Part 2
In part one of this two-part blog series, we went over some of the basics on insulating your water heater. This is an enormously beneficial move in many cases, especially leading into the upcoming winter season, often allowing homeowners not only greater comfort and efficiency from their water heater, but also a smaller utility bill.
At My Buddy the Plumber, we’re happy to help with numerous water heater needs, from water heater repair and replacement to installation of modern tankless water heaters. While part one of our series was mostly focused on explaining the benefits of insulation and getting your materials in order, today’s part two will focus on the basic DIY steps you should be following to perform this insulation installation on your own (note: if you are unsure about your ability to perform any of these tasks or simply prefer it, our plumbers are happy to assist with any of these areas).
Powering Down
The first step here is very important, as it will ensure your safety and the quality of the water heater moving forward: You must power down the unit completely. For electric water heaters, this means heading to your electrical panel and flipping off the switch that powers the heater. For gas heaters, this involves turning the gas valve for the water heater into the “pilot position” to ensure there is no gas powering the unit. Call our team if you have any questions about powering down your heater.
Measuring Themes
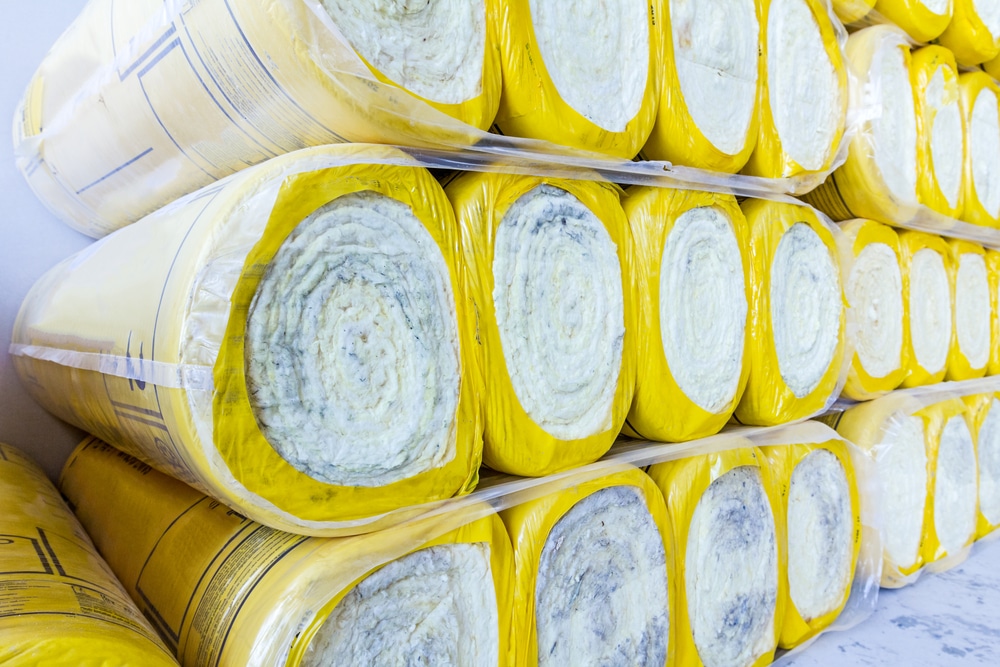
Before installing the insulation, you have to measure the heater to understand exactly how much material is needed. Measure the water heater from top to bottom using a tape measure, then cut your insulation blanket material to that precise height you’ve measured. Leave the top of the heater open so the vent is not blocked.
Cut to Fit
From here, it’s time to cut certain sections away to ensure the insulation fits but does not block important areas. The simplest method here is wrapping the material around the heater, then taping it temporarily so it holds in place.
Once it’s taped up, use a marker to note the location of access panels, burners, gas valves and pipe attachments. Once finished, remove the material and begin cutting out areas based on your markings – we recommend making them at least an inch larger than your markings, just to be safe.
Permanent Installation
Finally, it’s time to install the insulation permanently. Use your purchased tape or the tape that comes in the blanket kit to tape the blanket firmly, ensuring all the openings you cut out line up properly with their components. Once this is done, you can turn your power back on and enjoy the benefits of your insulated water heater.
For more on how to insulate a water heater and why it’s beneficial, or to learn about any of our plumbing services, speak to the staff at My Buddy the Plumber today.

Contact Us Today!
Sidebar


today
to schedule your next appointment
We make sure to take care of your plumbing system with our professional touch. We get the job done fast and our prices are reasonable.
Call TodaySchedule Appointment


Join the My Buddy Club
Easy Maintenance & Exclusive Benefits
The My Buddy the Plumber’s Club is our comprehensive maintenance membership program that will protect your home comfort systems! From an in-depth home plumbing inspection to thorough furnace and air conditioning tune-ups, the club does it all. Our team will ensure your HVAC, plumbing, and electrical systems are running safely and in top shape. Joining our club can also provide plenty of exclusive perks, such as:
- Priority service
- 10% discount on repairs
- No after-hours fees
- Peace of mind
- Matched manufacturer’s warranty
- Tank water heater flush
- Drain cleaning
- Electrical safety inspection


